Call Us 585-288-3572
Email Us
Employment
Customer Portal
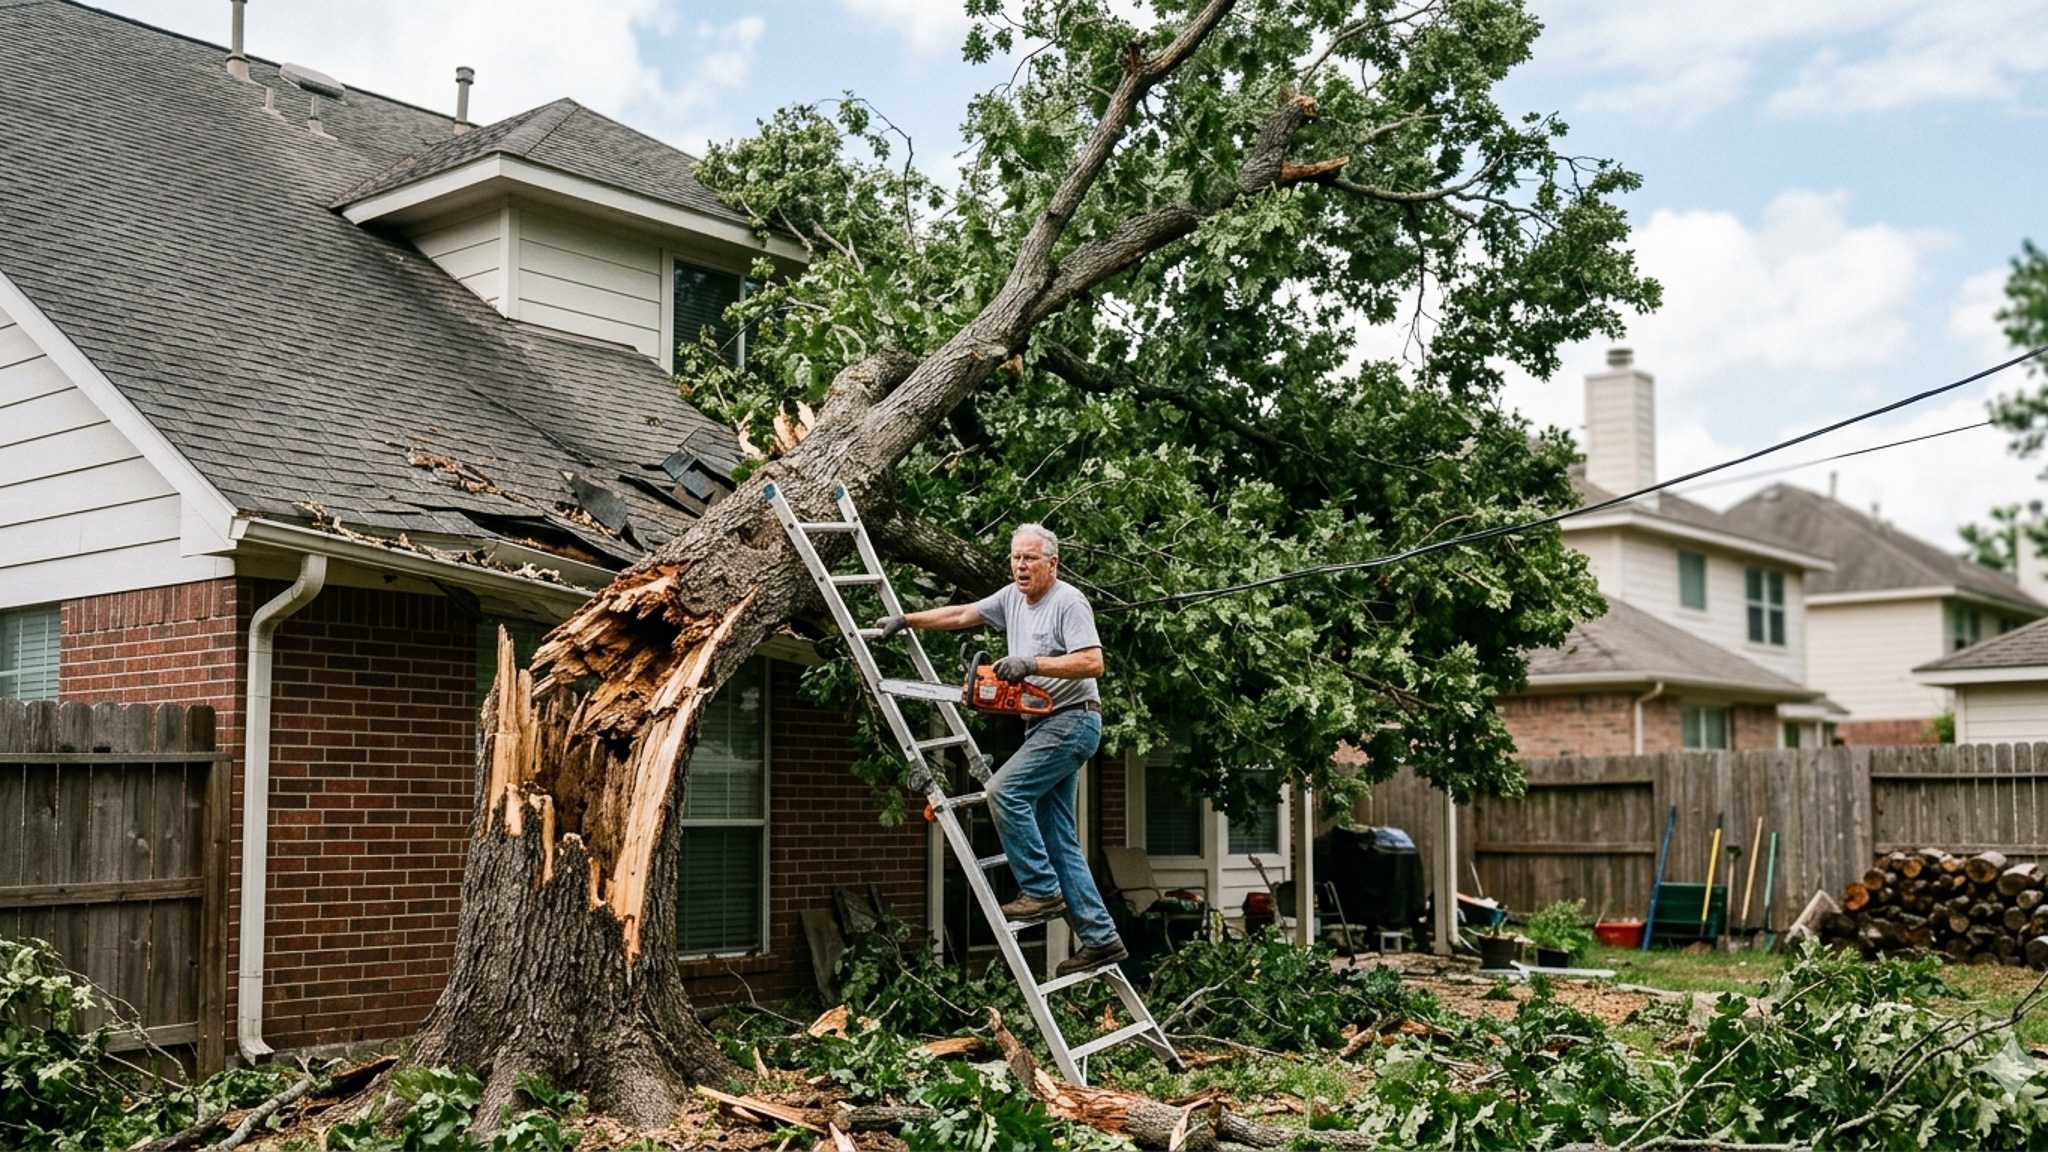
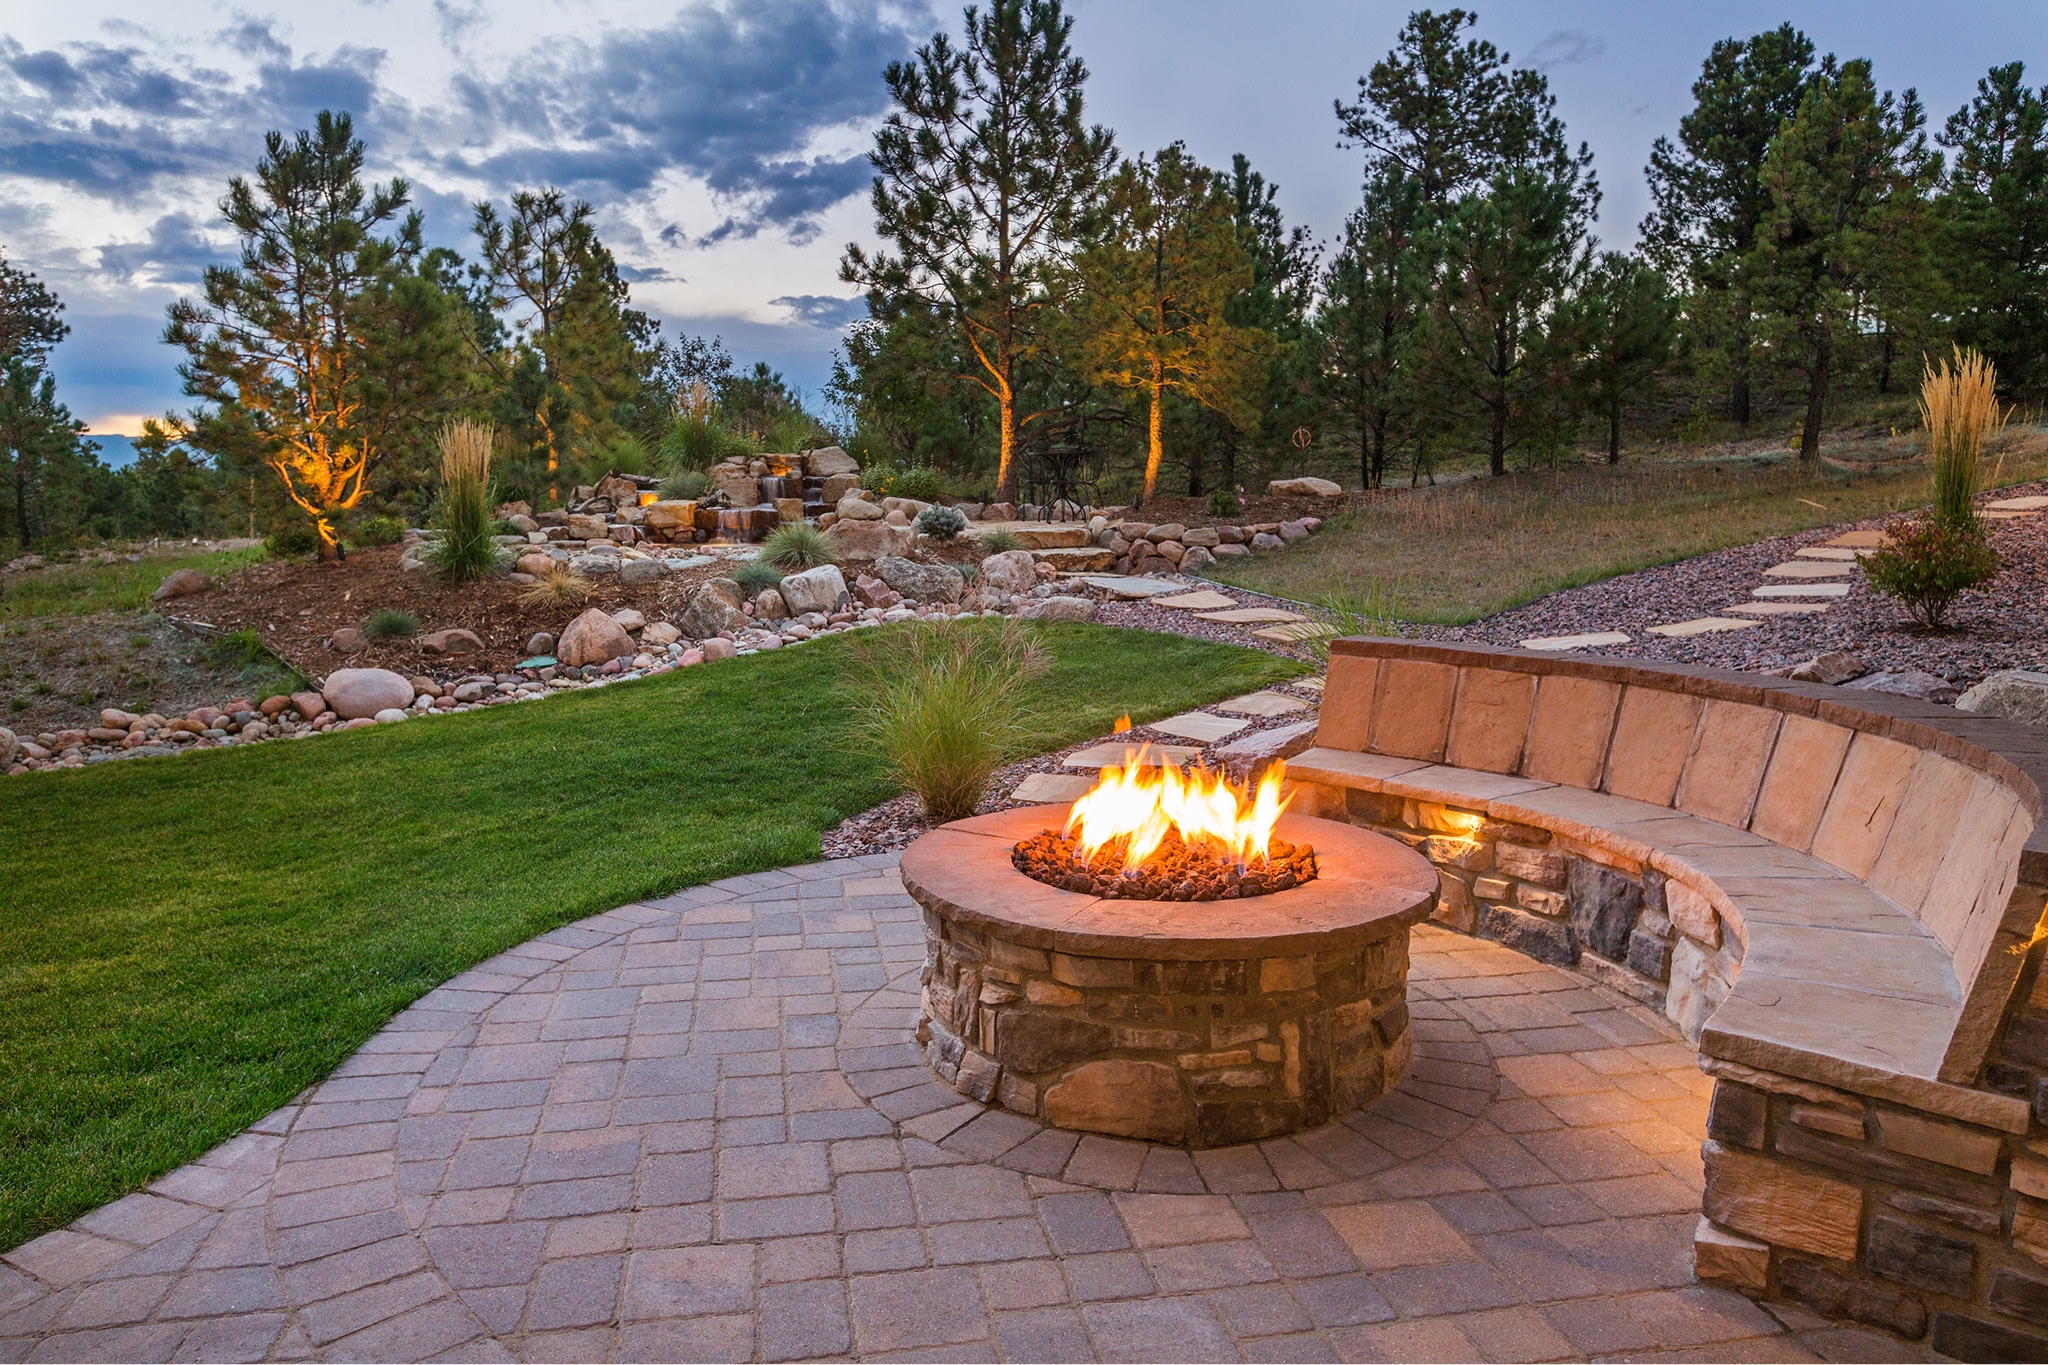
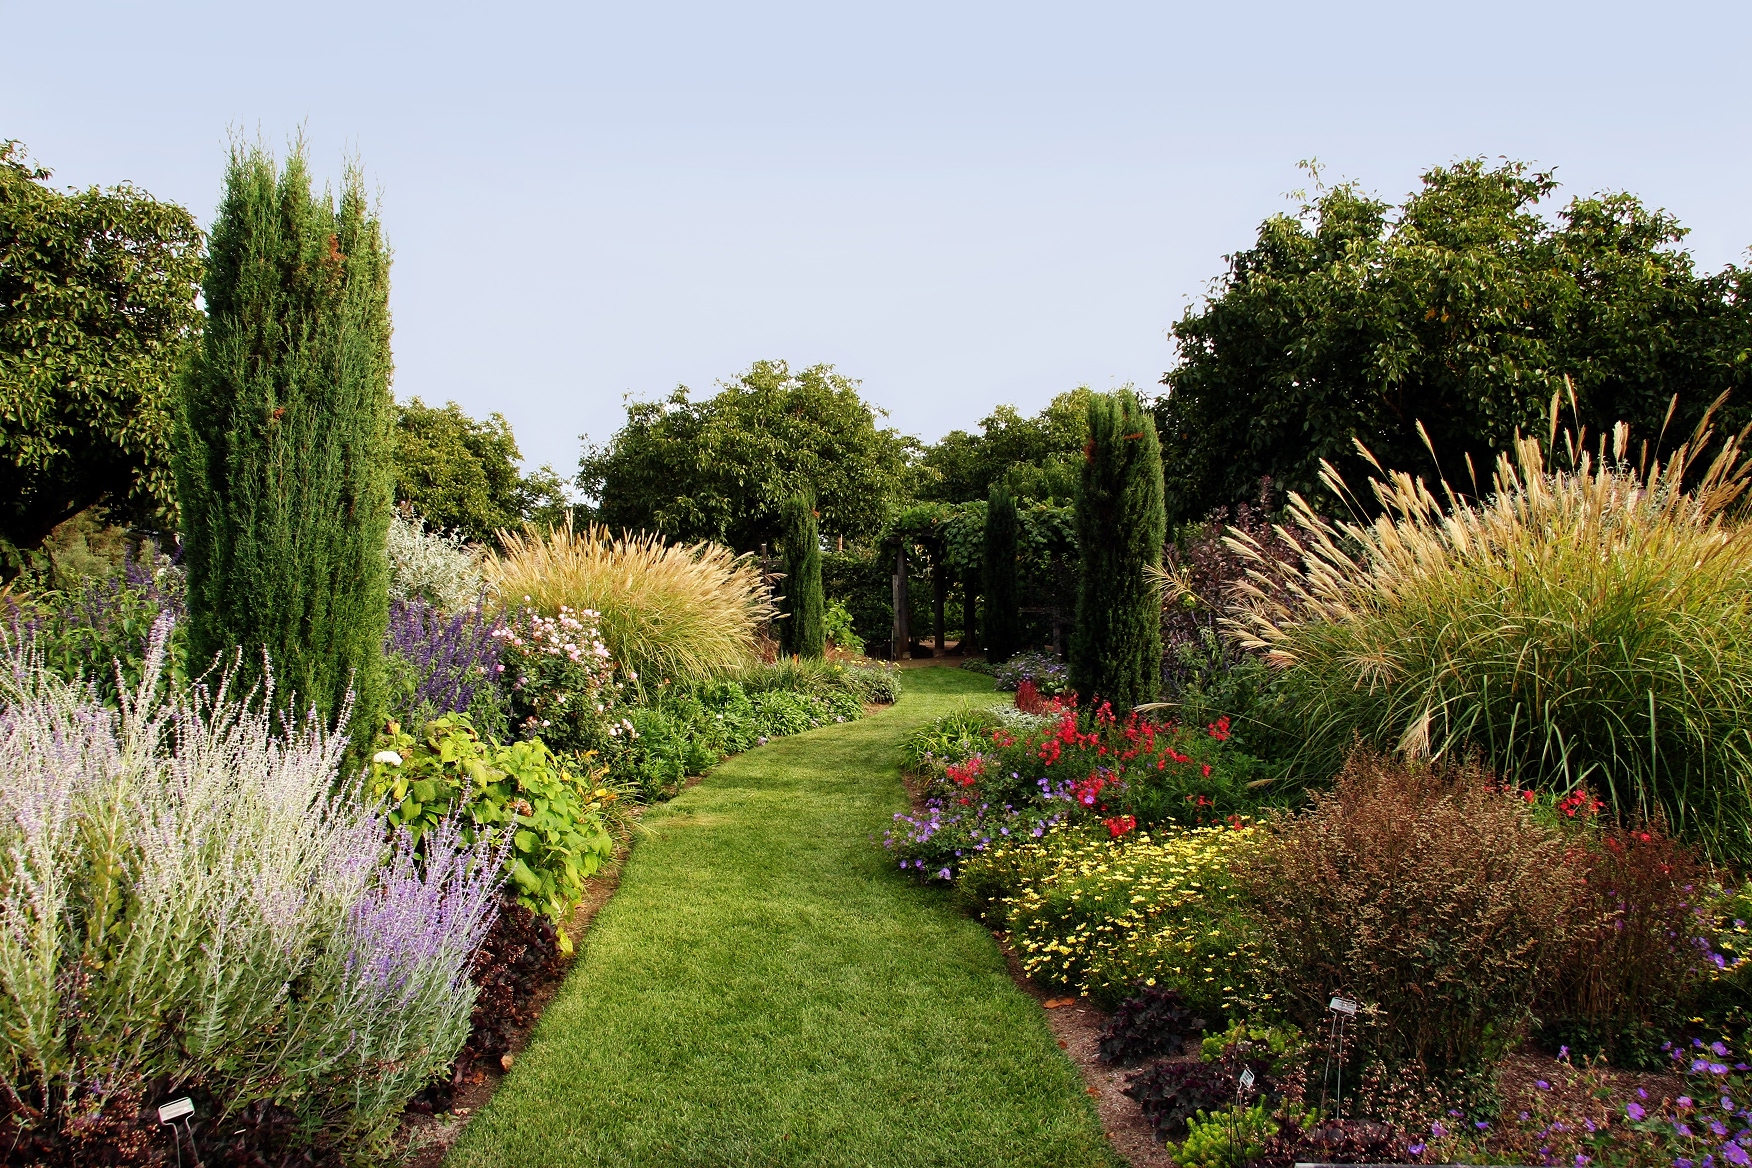
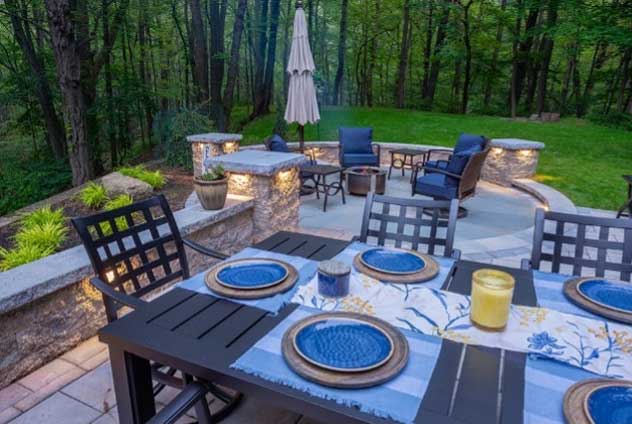
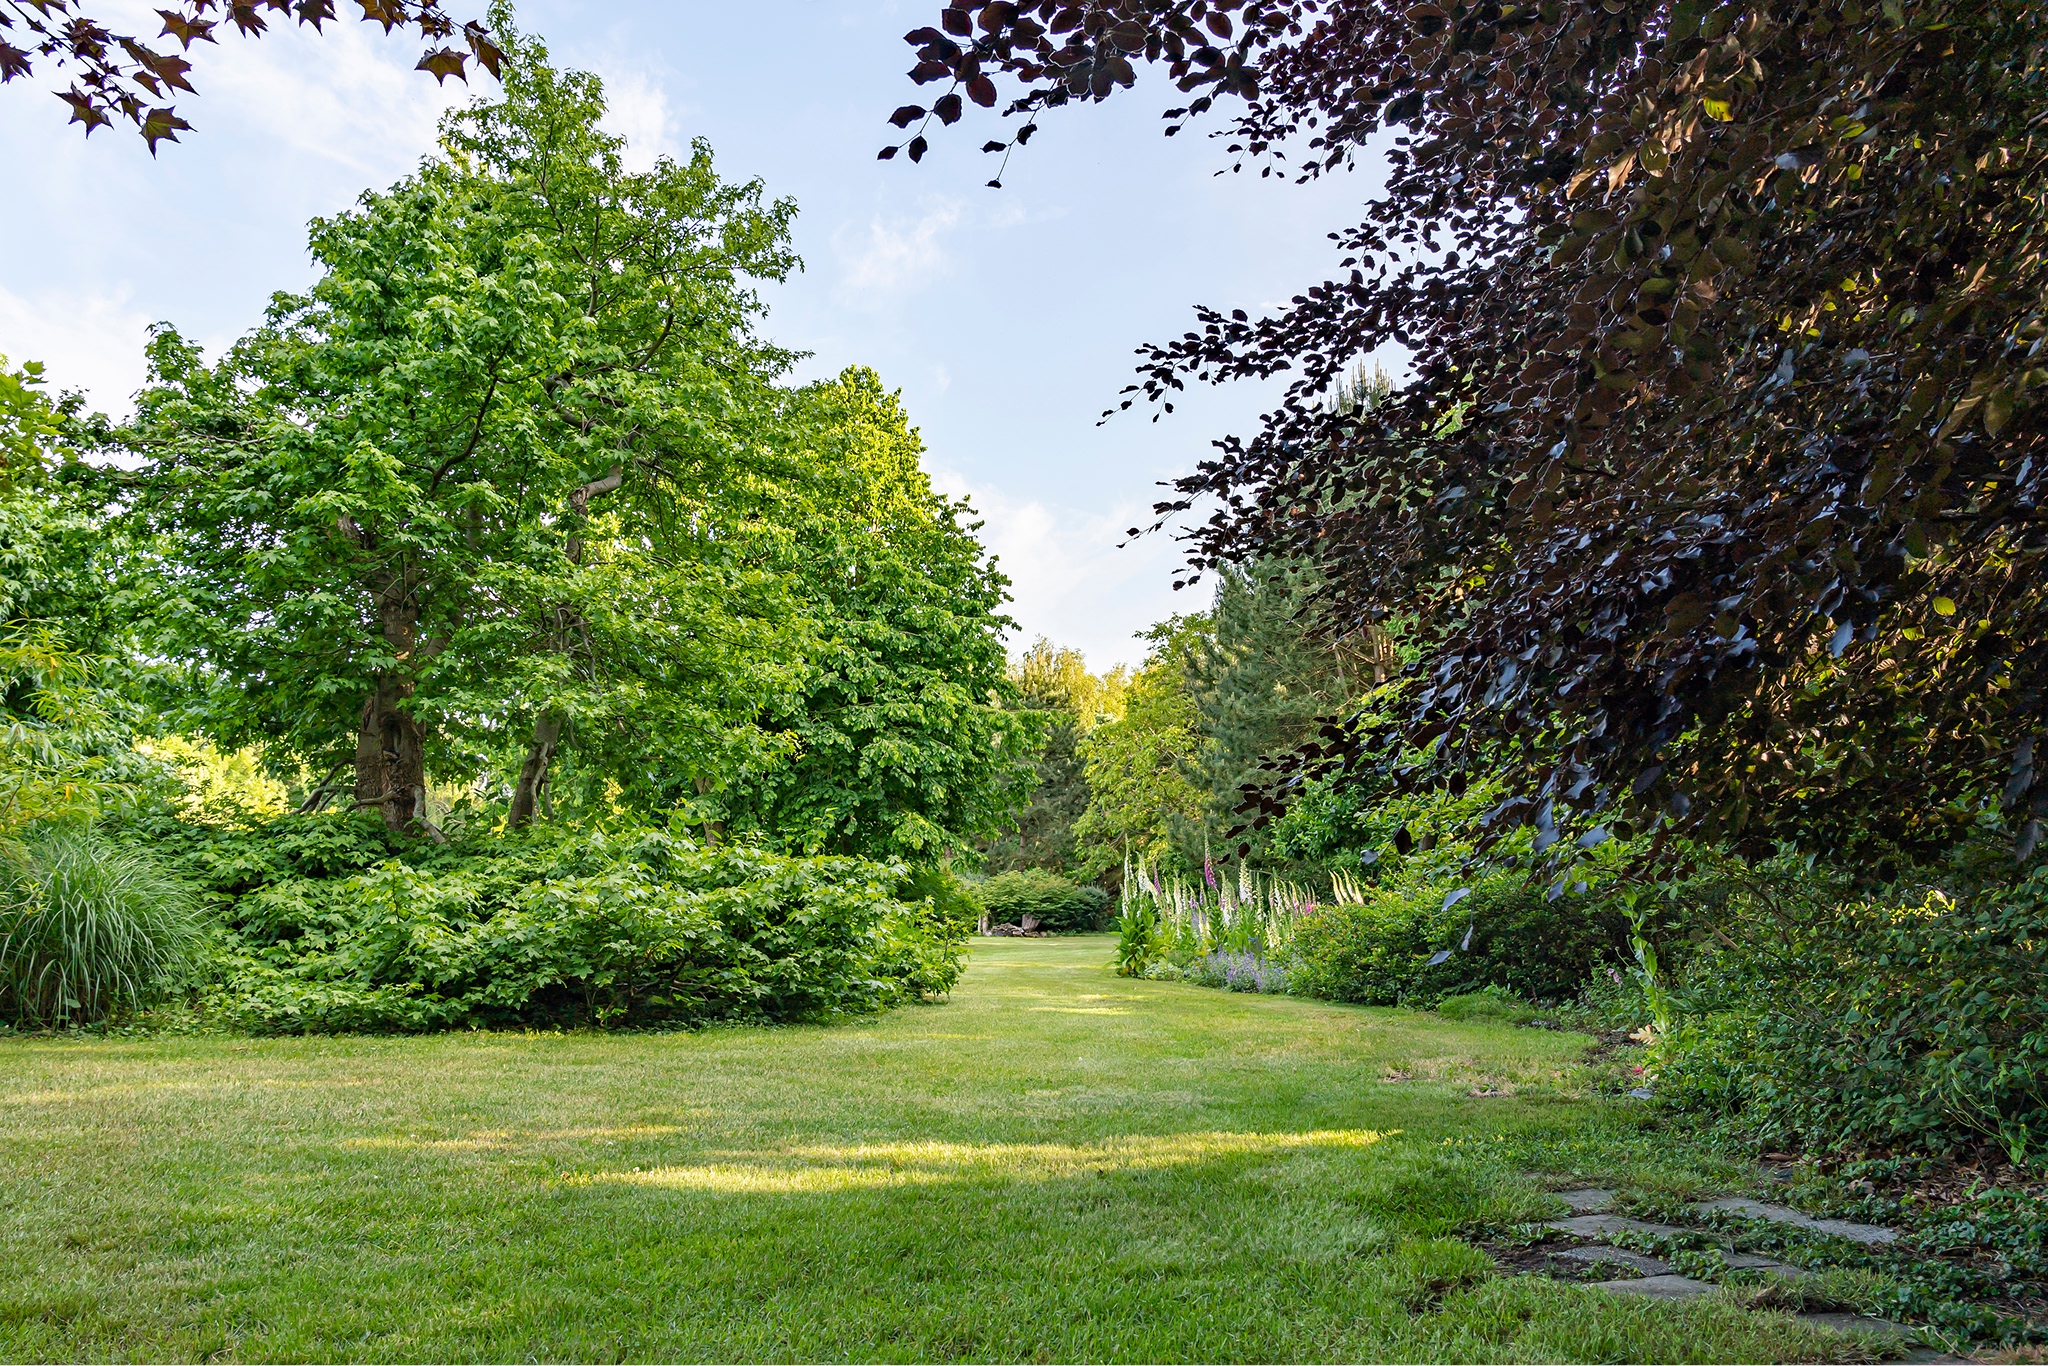
Stay up to date with the latest from Birchcrest Tree and Landscape. From expert how-to articles to behind-the-scenes updates, we share what matters for your trees, turf, and outdoor spaces.
Have questions about a topic we’ve covered or want to know how it applies to your property? We’re here to help.